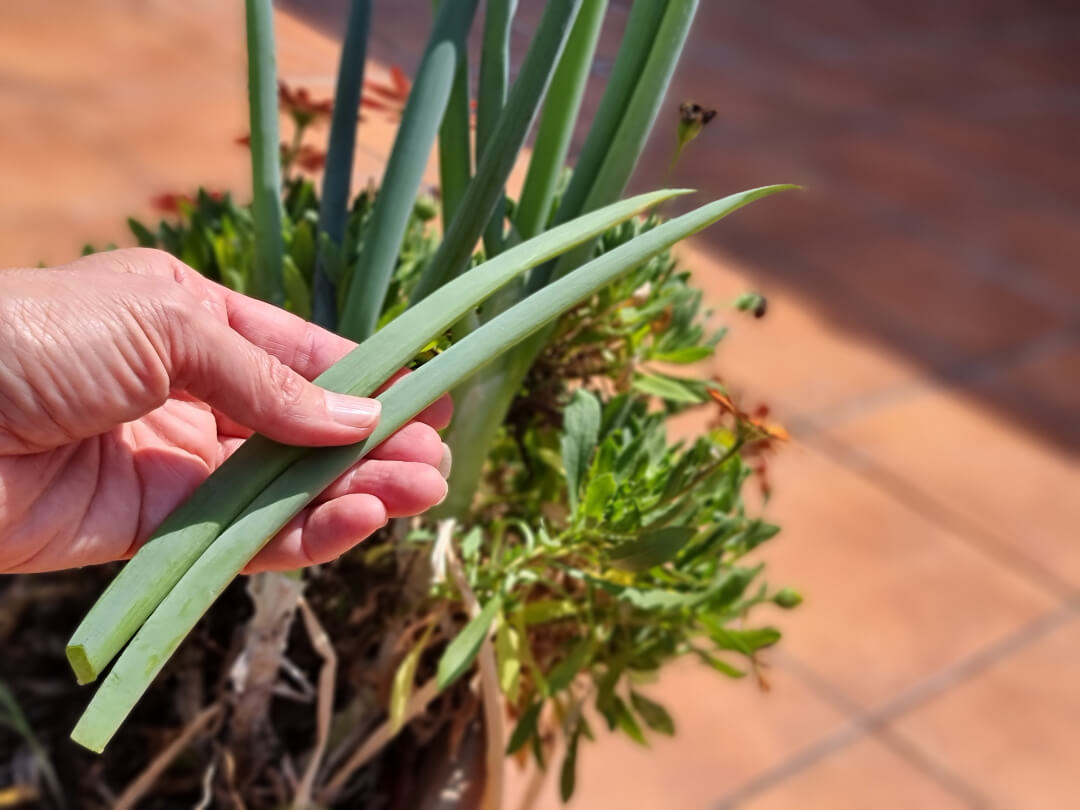
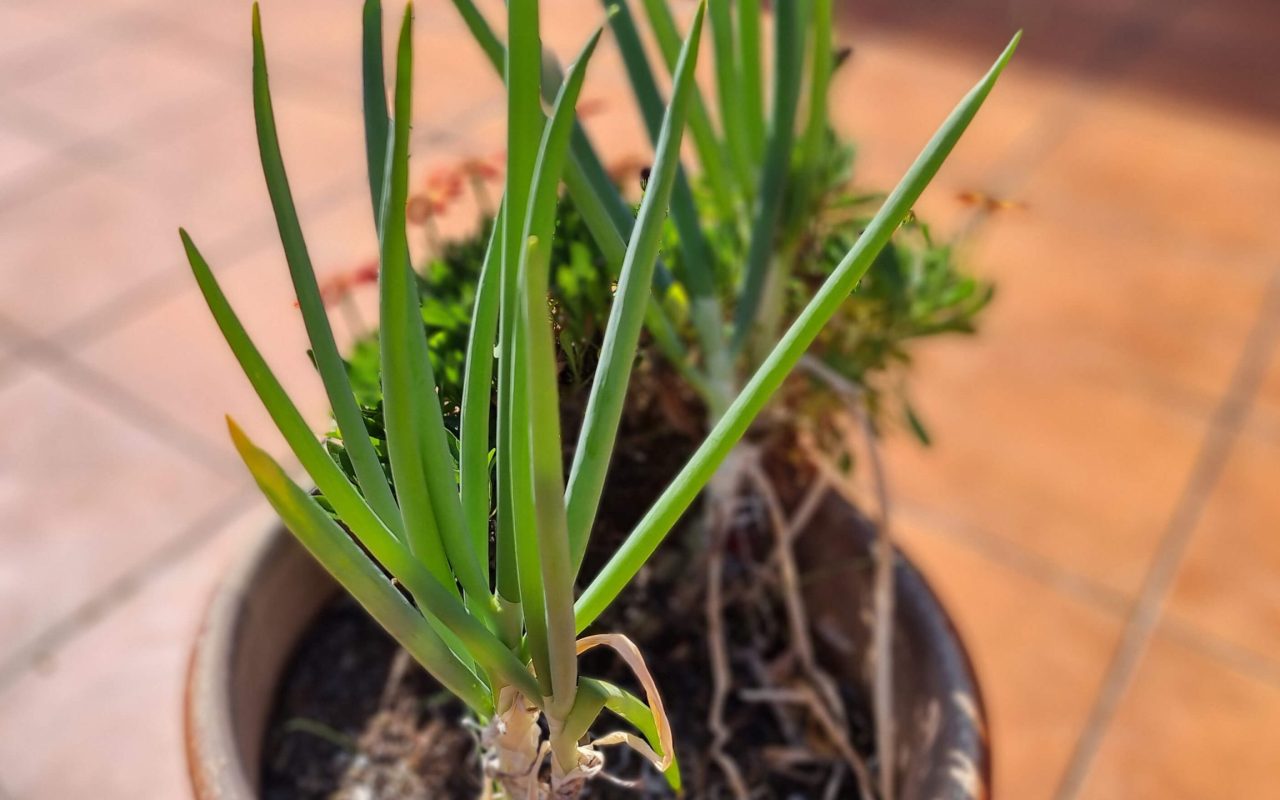
Bought a bunch of spring onions and they’ve gone a bit sad in the crisper? Don’t bin them – plant them! In a few weeks you’ll be snipping fresh greens for baked spuds, salads and stir-fries, straight from your pot on the patio.
Also known as in Australia: scallions, green onions and (confusingly) shallots. True French shallots/eschalots are the little brown, bulb-forming ones – different plant. Here we’re talking about the long green fellas with white bases.
What you’ll need
- A pot 15–20 cm (6–8 in) deep with drainage holes
- Quality potting mix (veg/herb mix if you have it)
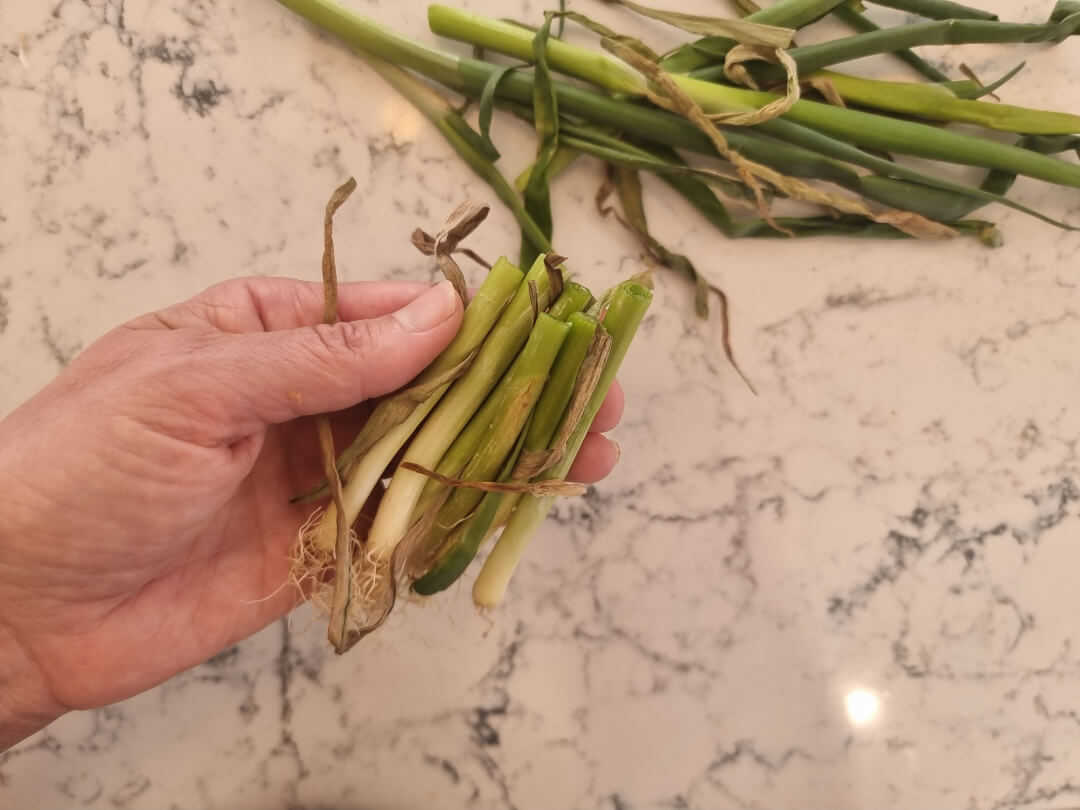
- Your leftover spring onions: keep the roots, plus ~8–10 cm (3–4 in) of the white and green stalk
- Hose, watering can or spray bottle
- Sunny spot: 4–6 hours of light (morning sun, arvo shade is perfect in warmer climates)
How to plant leftover spring onions
1. Trim and prep
Snip off any slimy or rotten bits. Keep the white root ends and about 8–10 cm (3–4 in) of stalk. If the base is truly mushy or black, compost it and choose a firmer one.
2. Pot them up
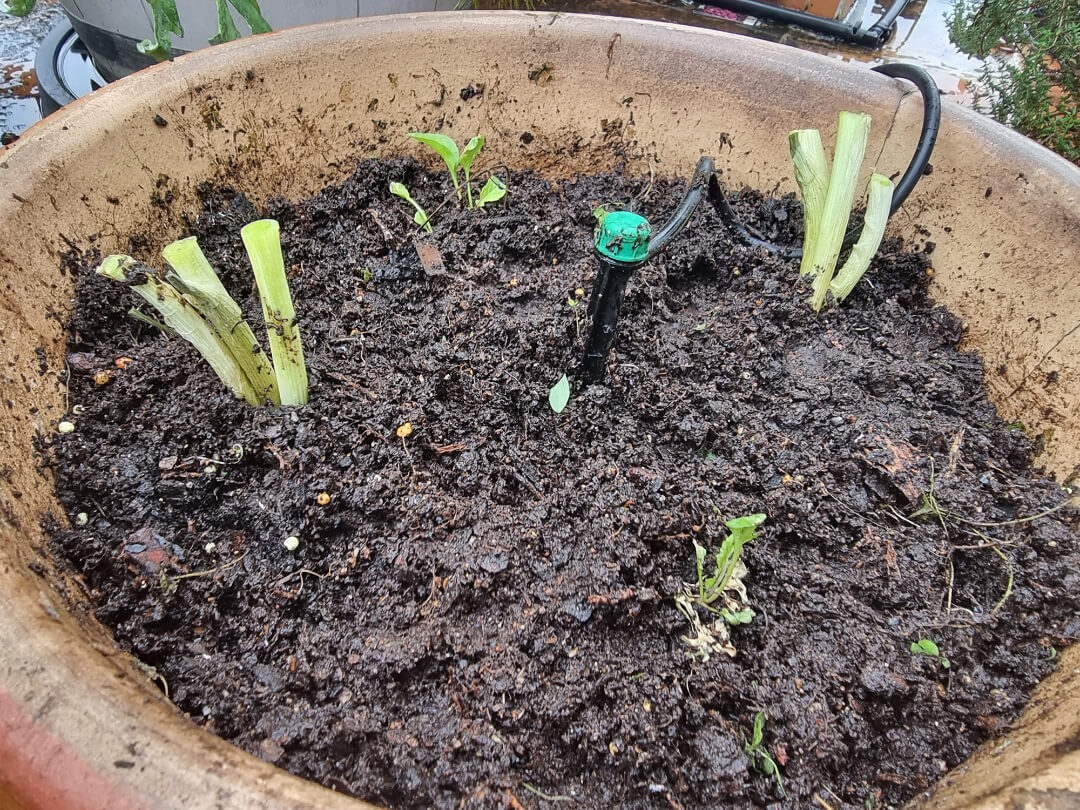
Fill the pot with potting mix and make finger holes 3–4 cm (1–1½ in) apart. Tuck each piece in so the roots are buried and the cut stalk sits just above the soil. Press gently to firm soil. Or put more than one in each hole — like I did, because I was in a hurry.
3. Water in
Give them a thorough drink until water runs from the base. Keep the mix moist — not soggy.
4. Sunshine
Park the pot somewhere bright. In hot weather, a little afternoon shade keeps them happy and stops bolting (flowering).
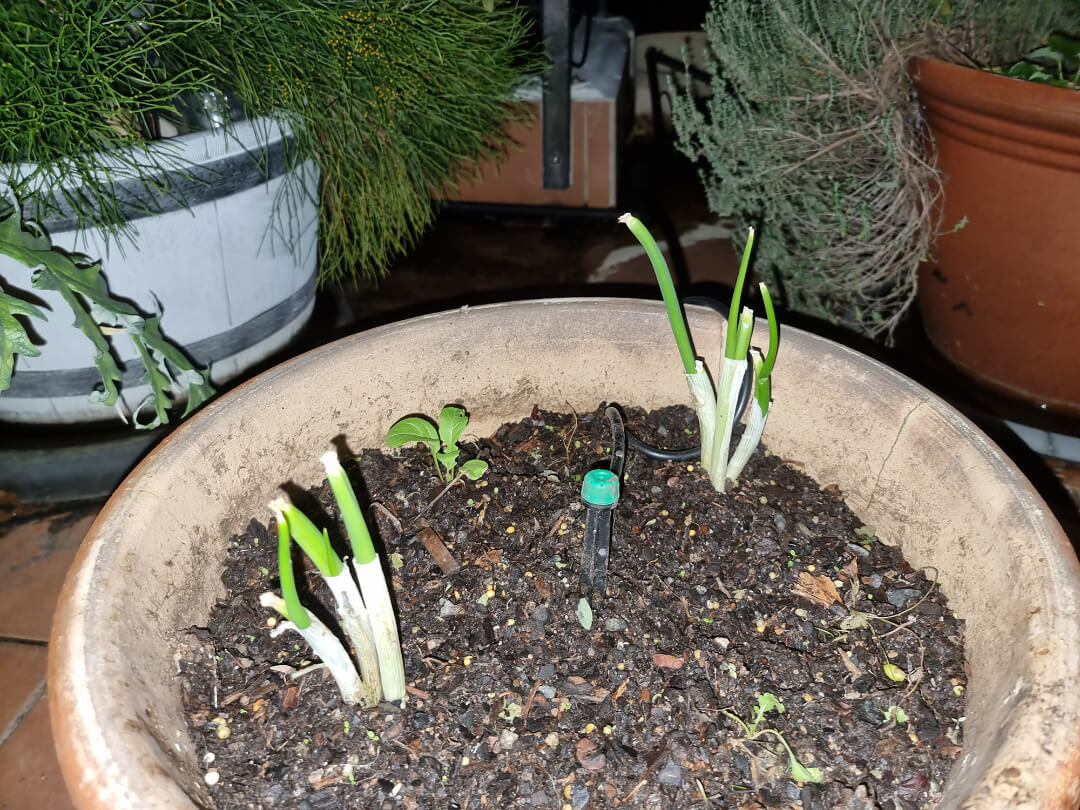
5. Watch for shoots
New green centres usually appear in 3–5 days. You’ll have usable length in 14–21 days.
Harvest and regrow (on repeat)
- Snip, don’t yank. Use scissors to harvest what you need, cutting 6–8 cm (2½–3 in) above the soil. I only cut the green part near the base where it joins the main stem.
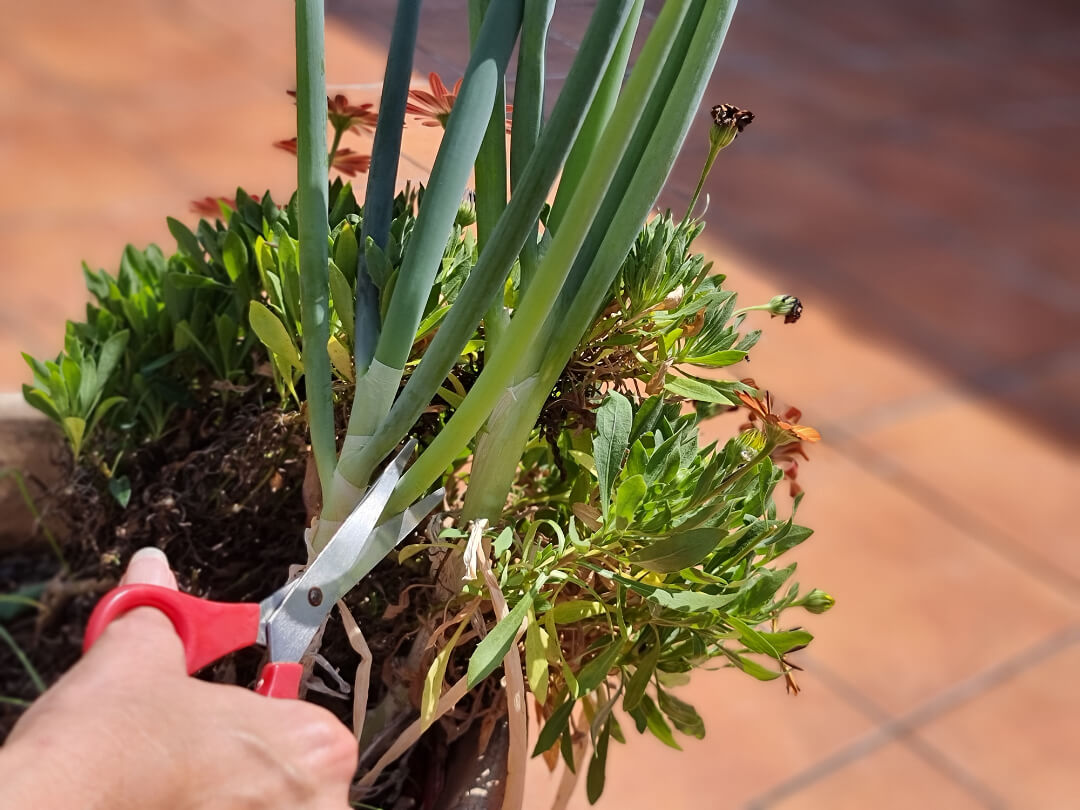
- They’ll regrow 3–5 good flushes, sometimes more with a light feed. However, if you just cut the green shoots, these plants will continue to grow for years.
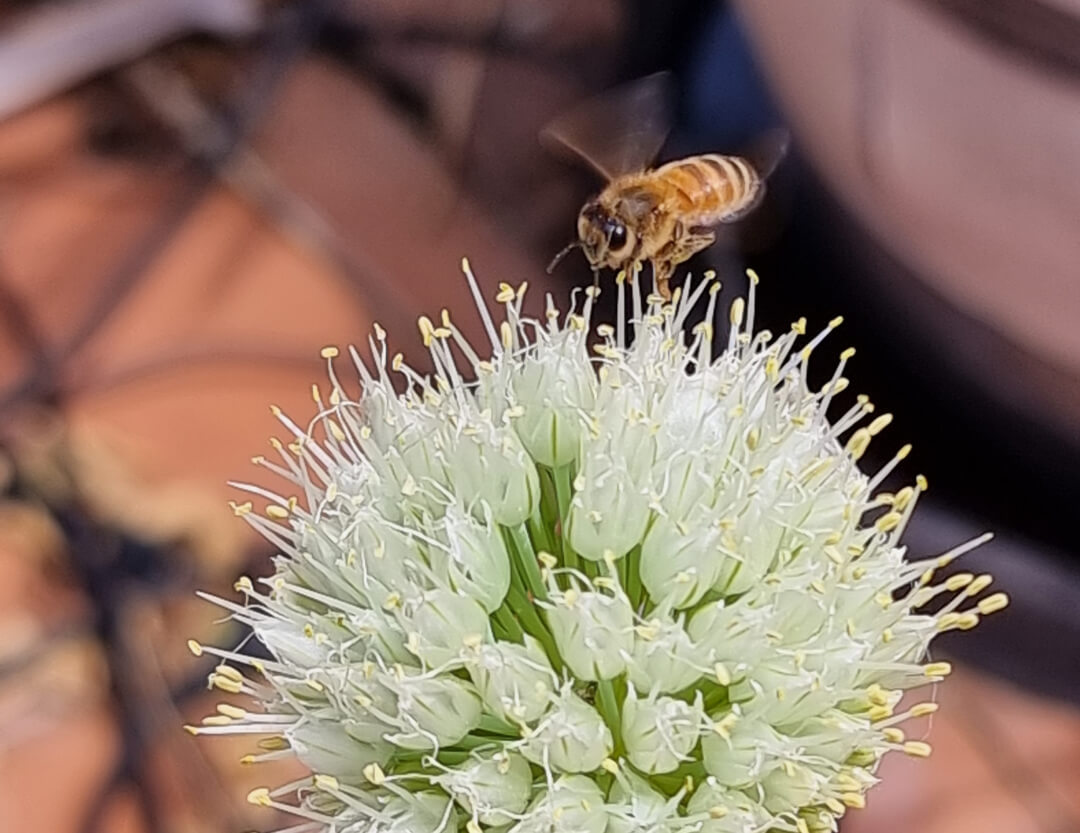
- If a plant sends up a flower stalk, let it bloom for the bees. The plant will continue to grow after it flowers.
HANDY HINTS
Water and feed (the easy way)
- Water: Keep the top 2–3 cm (1 in) of mix lightly moist — avoid waterlogging (that’s what causes rot).
- Feed: Every 1–2 months, splash on a weak liquid feed (seaweed/fish emulsion) or slow-release fertiliser. Optional, but it speeds things along.
Troubleshooting
- Yellow tips: Usually dryness or too much sun — add an extra water and offer arvo shade.
- Slimy base: Over-watering. Trim to healthy tissue and replant in fresher, better-drained potting mix.
- Aphids or thrips: Quick blast with the hose, or use a little insecticidal soap if needed. Sold as ready-to-use sprays and often allowed in organic gardening. Look for certification logos like Australian Organic (ACO) or NASAA “Allowed Input”.
Bench-start option (if roots are tiny)
Stand the trimmed bases in a small glass with 1–2 cm (½ in) of water on the bench for 2–3 days (change water daily) until you see fresh white roots — then plant into potting mix.
How you’ll use them
- Sprinkle over baked potatoes with sour cream or crème fraîche
- Add to omelettes and noodle bowls
- Stir through fried rice or dumpling dipping sauce
- Toss with tomatoes, lemon and extra virgin olive oil for a quick salad

Storage tip: Snip extra greens, rinse, pat dry and roll in a slightly damp paper towel inside a container – fridge-fresh for up to a week.
At-a-glance
Keep: Roots + 8–10 cm (3–4 in) of stalk
Plant spacing: 3–4 cm (1 in) apart
Light: 4–6 hours/day (morning sun best)
First harvest: 14–21 days
Regrowth: These spring onions have been growing since June 2023, have flowered twice, and are still producing plenty of healthy shoots
Give it a go – once you’ve got a pot on the go, spring onions become the handiest “set and forget” garnish in the house.
Enjoy!